
Consistent AI Product Renders: Six Fixes That Work
Get the same product angle every time: use a reference photo, lock the camera in words, reuse one shot spec, edit instead of regenerating, recolour in code.
The angle changes because you never told the model where the camera is. Every generation starts from scratch and fills each gap with its own defaults: lens, height, light, even the product's proportions. The fix is to treat a render as a spec. Give the model a reference image of the product, reuse one block of camera language word for word, edit a good render instead of rolling the dice again, and recolour in code rather than generating every colourway.
Why the angle keeps moving
Three things cause the drift, and each one is in your prompt.
Consistency is not a matter of better luck. It comes from a fixed specification, and a specification is something you can write down, reuse and check.
Fix 1: Start from a reference image
Most image models accept a reference image. Use one clean, accurate photograph or render of the product, shot on a plain backdrop, and state what the reference is for:
"Keep the bottle's shape, cap and label position from the reference. Change only the background and the light."
Without a reference, the model is inventing your product each time. With one, it is adapting a product it can see. How closely a tool follows a reference varies, so check every result against the reference, not against your memory of the product.
Fix 2: Lock the camera in words
Describe the camera the way a photographer would brief an assistant. Five things cover most of the drift:
These are directions for the model, not parameters for any particular tool. The point is that every render gets the same numbers, so any difference you see is one you introduced on purpose.
Fix 3: Reuse one shot-spec block, word for word
Keep the camera and framing language in a single file. Paste the same block at the top of every prompt, then add only the subject line. Change one word in the block and the whole series changes, so edit it deliberately and note the date.
The full template is further down. The rule that matters is this: the shot spec is a constant, and the product is the only variable.
Fix 4: Edit a good render instead of regenerating
When you get a render that is 90 per cent right, keep it. Use the editing or inpainting feature of your tool if it has one, since names and controls differ between products. Change the background, the colour of a surface or a label, and leave the rest alone.
Regenerating rerolls the angle, the light and the product together. Each new generation can improve one detail and damage three others. If your tool has no editing feature, a basic image editor is cheaper and more predictable than another full generation for small changes like cropping or flattening a background.
Fix 5: Recolour in code, not in the model
Colourways are where drift does the most damage. Eight generations of a product in eight colours is eight chances for the shape to move. Make one neutral master instead and recolour it in CSS.
The Northline watch hero does exactly this. Its prompt specifies the photograph on a light grey backdrop with mix-blend-mode: multiply, and explains the result: "The photograph's grey backdrop takes on the colourway through the multiply, so the strap, the backdrop and the stage stay one colour. The watch face stays black."
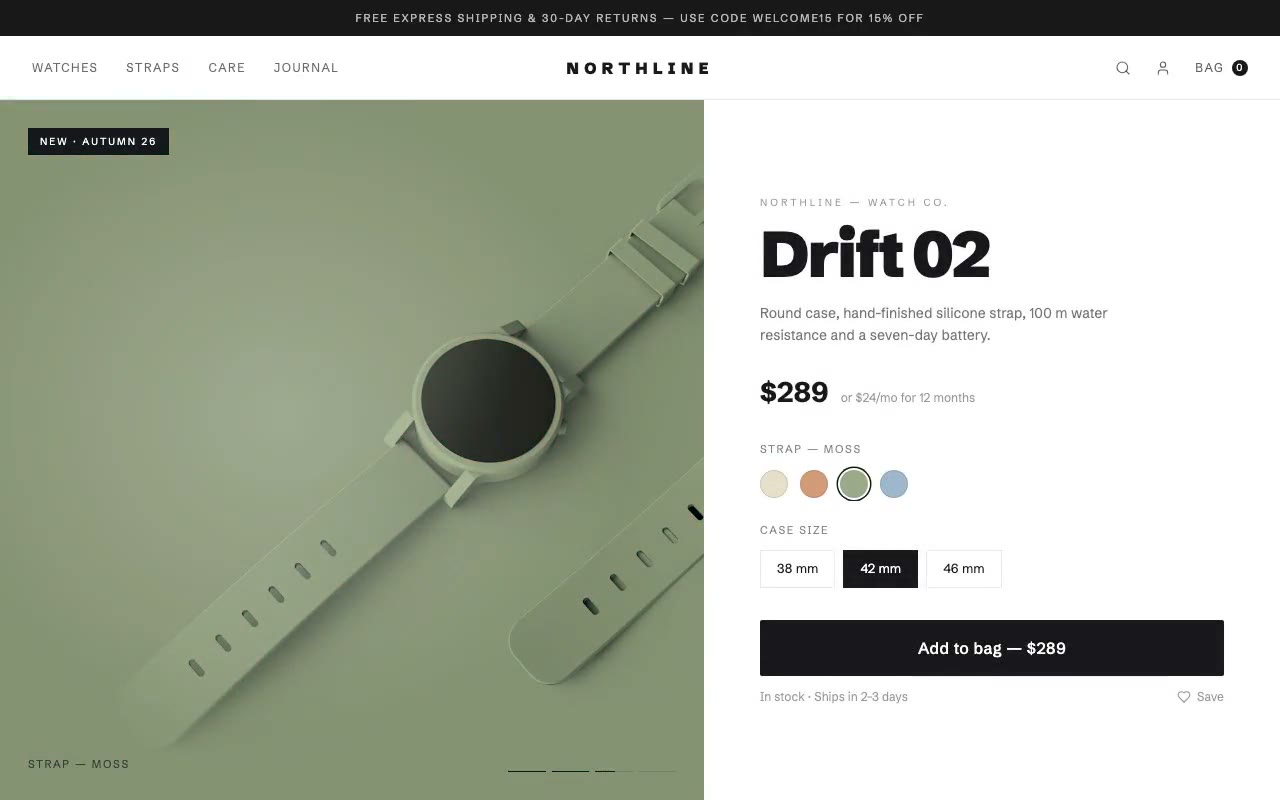
That technique has a clear limit. It works when the backdrop is light and neutral, and when the parts that must not change are dark. A white product on a white background, or a bright gold trim, will not behave the same way. Test each product before you rely on it.
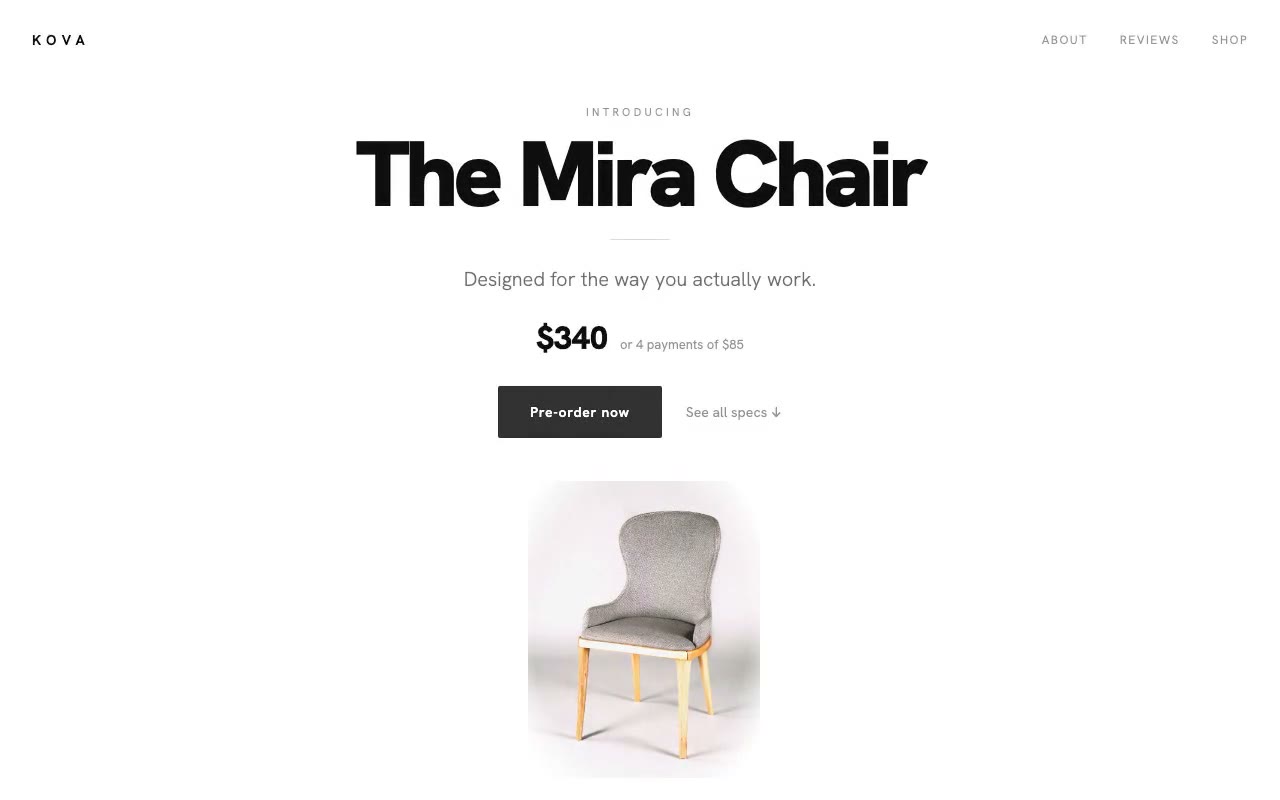
The same plain backdrop does a second job. The KOVA chair photograph sits on a grey studio backdrop, and its prompt lifts that backdrop to near-white with a brightness filter and a mask so the chair melts into the page. A product shot made for keying is easier to reuse than one with a busy background.
If the product has to be exact every time, there is a third route: build it in code, the way Nordvik's CUBE 02 viewer draws its six faces with CSS 3D. A drawn product cannot drift, because nothing in it is being re-imagined.
Fix 6: Batch the work
Generating one product image at a time is where inconsistency creeps in. Batch the work instead.
A reusable style guide prompt
A shot spec covers one image. A style guide covers the whole brand. Keep it short, and paste it above the shot spec when you start a new batch:
"Brand look: calm, editorial product photography. Palette: warm off-white #F4F1EA for backgrounds, charcoal #2B2A28 for shadows and type, muted clay #B5674A as the only accent. Lighting is always soft and from one side. No props unless the brief names them. No reflections, no hands, no text, no logos except the product's own marking. Shot spec follows."
Then add the shot spec for the specific image. The style guide decides the look; the shot spec decides the frame.
The shot-spec template
Copy this into a file and fill in each field. Keep the wording identical across the series.
A filled example for a fictional ceramic pour-over kettle might read: product, a matte sage-glazed kettle with a walnut handle and a brass lid knob; reference, kettle-master-v2.jpg, keep the spout curve and the handle shape; camera, 10 degrees above the top of the body, around a 50mm equivalent; framing, the kettle fills the central 60 per cent of height, square 1:1; background, seamless off-white with no horizon; light, a single soft source upper left at 45 degrees, shadow falling right; palette, #F4F1EA, #8A9A84, #B5674A; exclusions, no text, no steam, no hands, no props.
Every field is a decision you made once. The prompt you send each time is the template plus the kettle line.
Before and after
Weak: "A photo of our kettle on a table, nice soft light, modern, premium."
Stronger: the full shot-spec block above, with the reference attached and the subject line changed to "the sage kettle, 1:1."
The first gives you a new kettle, a new table and a new angle every time. The second gives you one kettle, shot the same way each time, with only the product line changing.
FAQ
Why does my AI product image change every time I generate it?
Each generation is a fresh sample, and the prompt leaves the camera, lens, light and product details open. Attach a reference image, write the camera and framing as numbers, and reuse the same block of text for every render.
Can AI make product photos that match my real product?
It can get close, but accuracy depends on the reference and how closely your tool follows it. Always check the render against a photograph of the real item before you publish, and keep real product photography for anything a customer will buy from.
Should I edit a render or generate a new one?
Edit when the render is mostly right and you only need to change a background, a colour or a label. Regenerate only when the framing or the product itself is wrong, and then start from the reference again.
How many renders do I need for a consistent set?
Generate a batch of six to eight with the same spec and compare them side by side. Keep the ones that pass the checks, and regenerate the rest from the reference rather than patching them. Colourways are better handled in code from one master.
For more on why generic prompts produce generic output, read the AI prompt engineering framework, and for the wider problem of AI sameness, why AI-generated websites look the same. If you are building a product page around these images, browse the e-commerce hero sections that sell and the full prompt library.
Build a starter hero prompt in four questions with the free generator, or copy five prompts from the library with no account.
Get the next guide by email
New hero prompts and practical AI design guides like this one, when they go live. No spam, unsubscribe any time.
By signing up you agree to receive these emails. See our privacy policy.
Prompts from this article
Northline — Watch Product Spotlight
A single-product spotlight where choosing a strap colour re-dyes the product stage and the photograph together, with case-size scaling and an add-to-bag flow. Built for watch, accessory and small-gadget stores.
Kova — Minimal Product Landing Page
An ultra-minimal single-product page where the chair photograph pulls into focus while the oversized product name tightens into place, with a soft pointer drift. Built for furniture and design objects sold on a single hero.
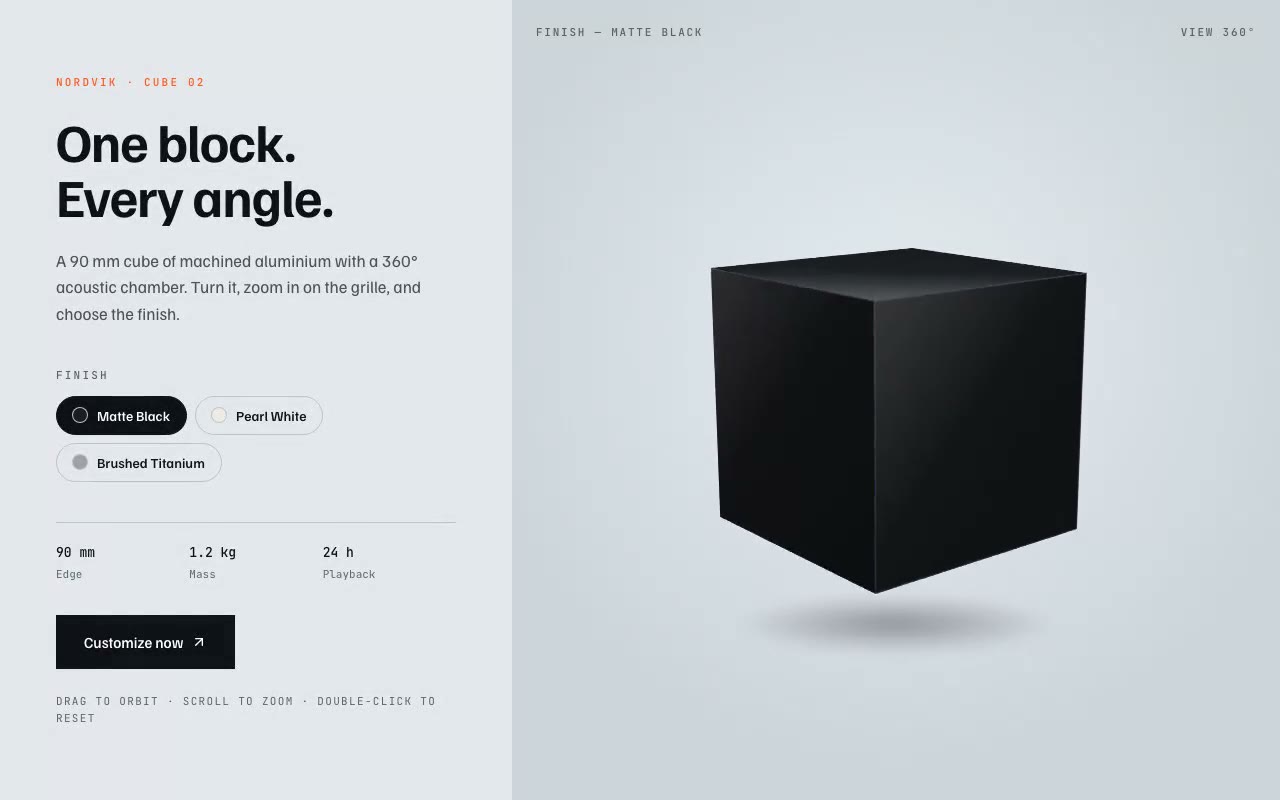
Nordvik — 3D Product Viewer Hero
A 3D product hero built from CSS transforms, no WebGL: a cube speaker assembles on load, auto-rotates, and responds to drag, zoom, finish swaps and double-click reset. Built for hardware, audio and design-led product launches.
The prompts in the HeroPrompts library are engineered at the level of detail described above — every font, colour, interaction, and animation specified. Skip the iteration and ship a hero section that looks like it cost money.
Consistent AI Brand Mascots: How to Stop Them Drifting
Keep an AI mascot on-model with a written character spec, an approved reference sheet, one-variable pose changes, and a checklist that catches drift early.
GuidesHow to Generate AI Hero Images for a Landing Page (With Prompts)
Set the aspect ratio, leave room for the headline and match your palette, then use a five-part prompt that fits the frame. With a checklist and FAQ.
DesignE-Commerce Hero Sections That Sell: 5 Patterns With Examples
Five e-commerce hero patterns for selling one product: spotlight, editorial split, clock-driven sale, 3D viewer and signature reveal, each with a live preview.